DIY Tips for Installing Plastic Pipes: A Step-by-Step Guide


Understanding Plastic Pipes
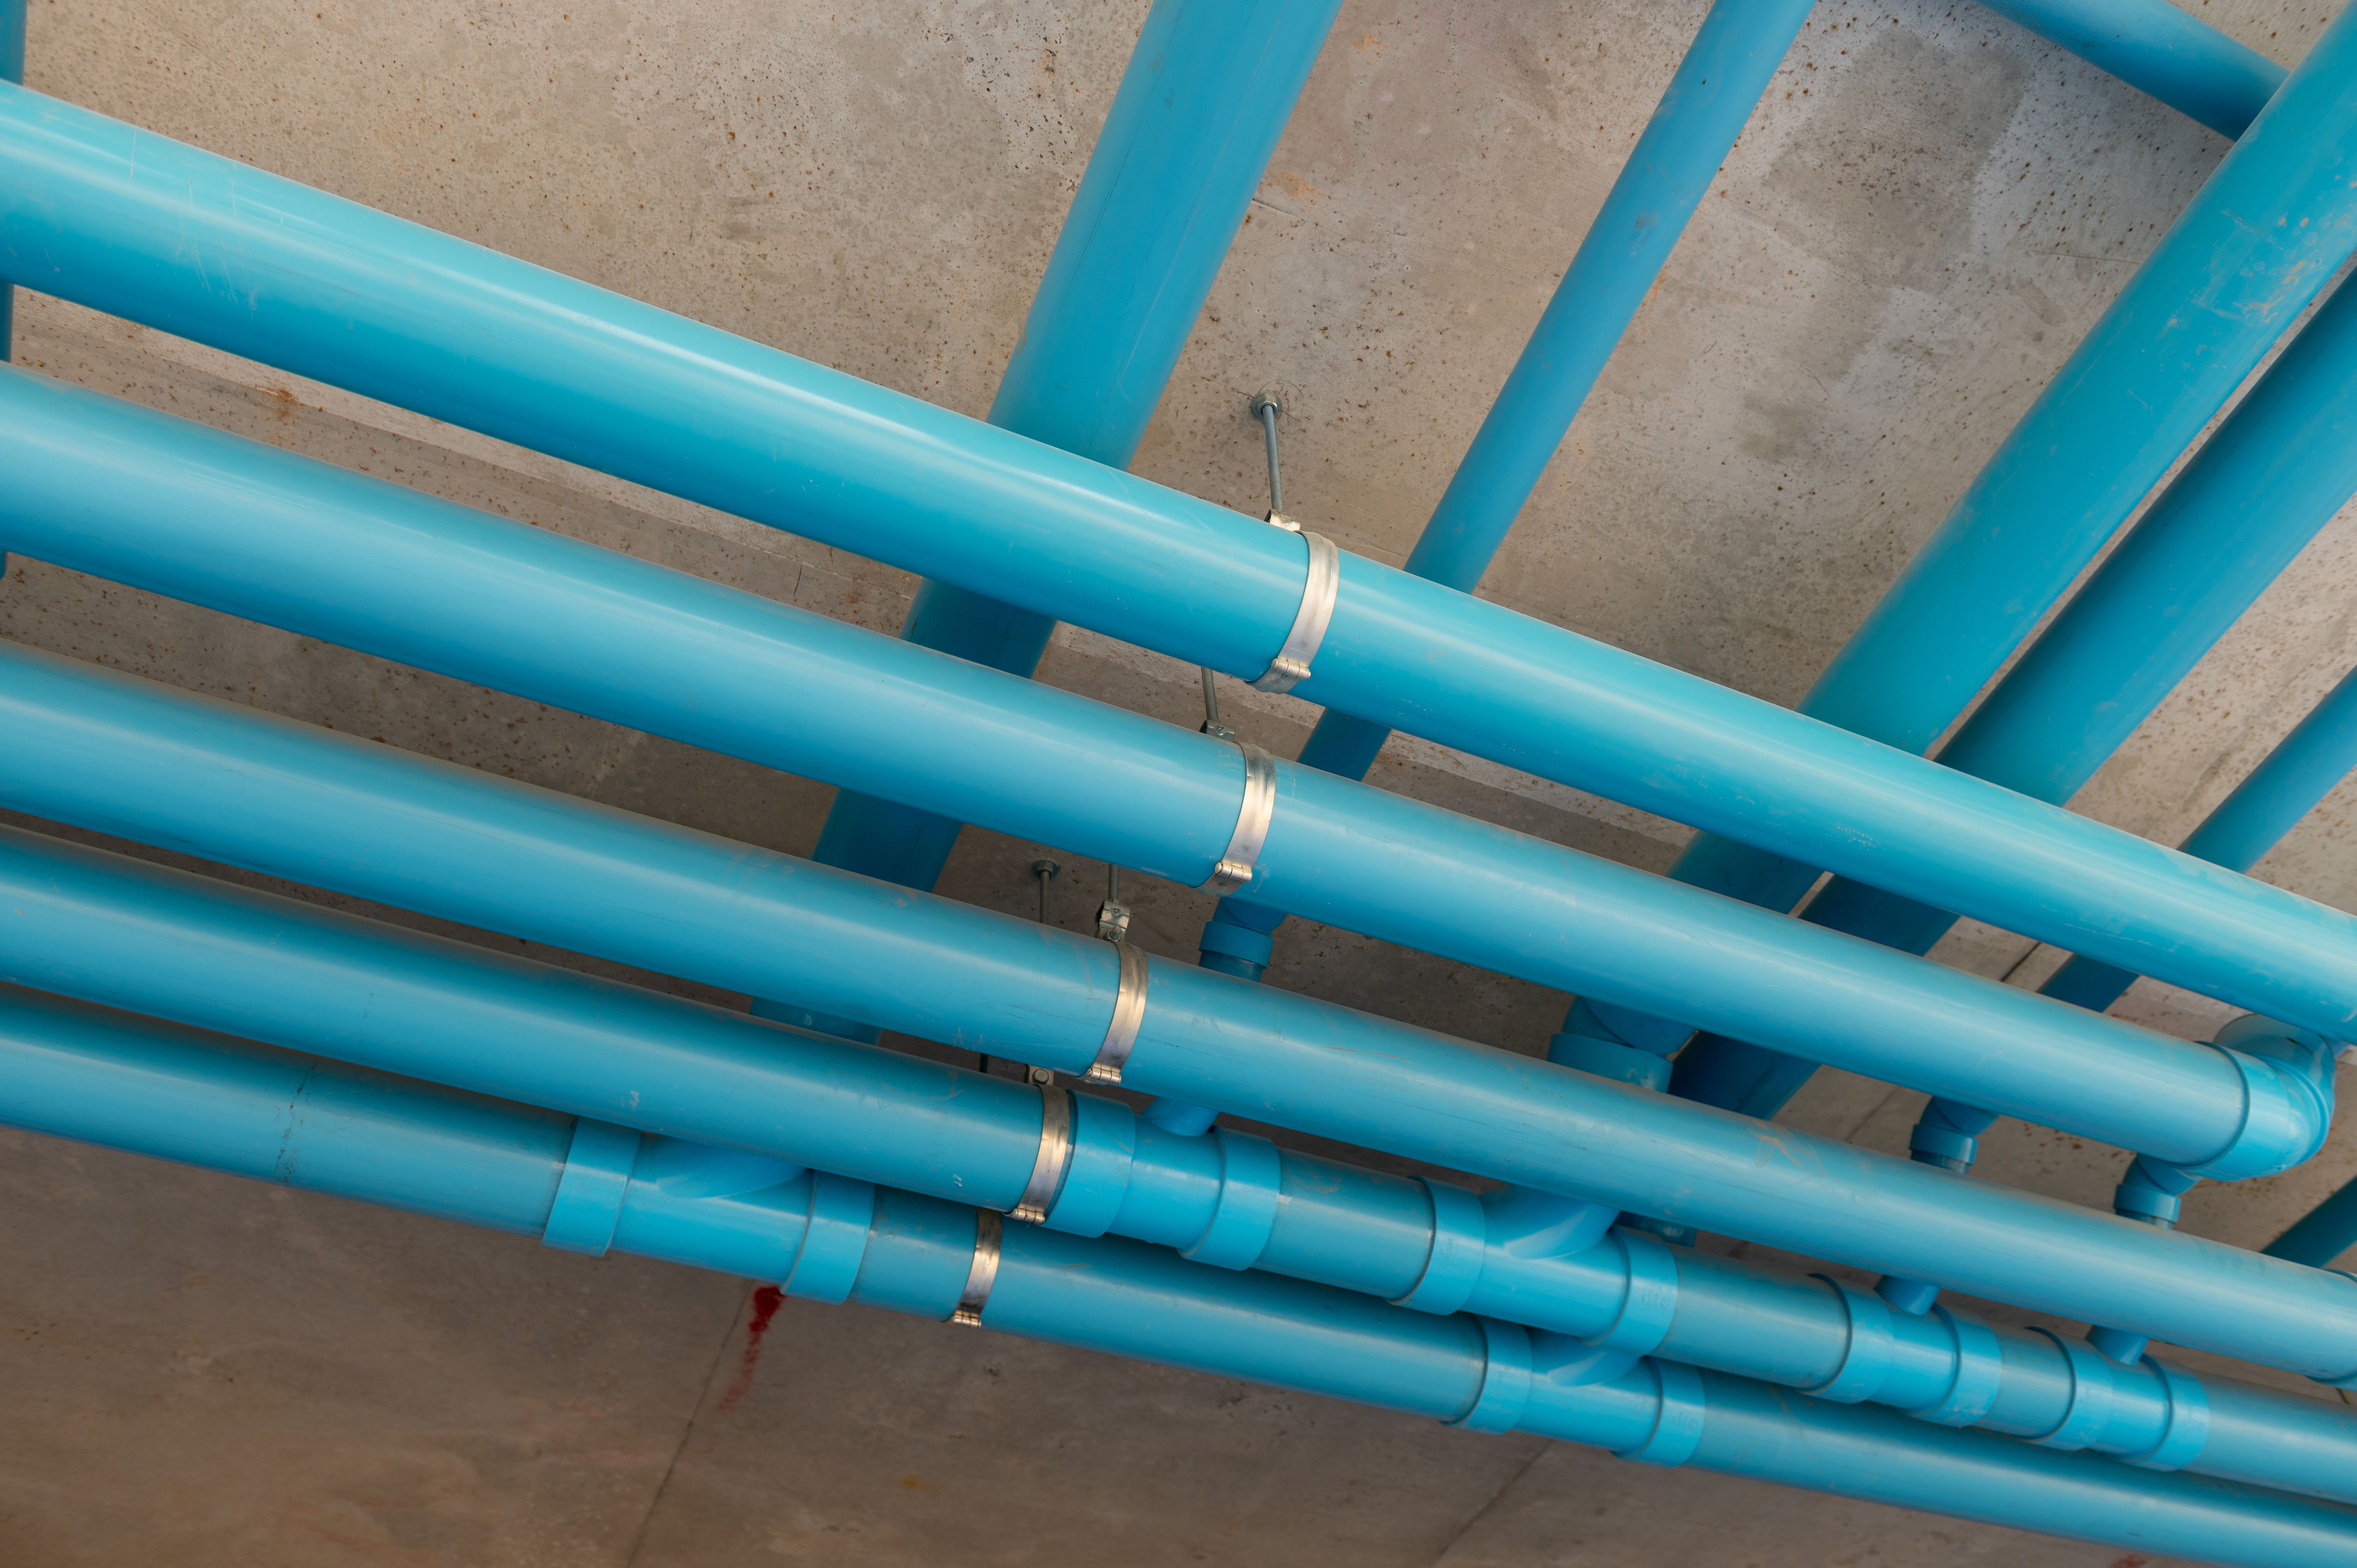
Plastic pipes are a popular choice for plumbing and various DIY projects due to their durability, flexibility, and cost-effectiveness. Whether you're tackling a home renovation or a simple repair, understanding the basics of plastic pipes can save you time and money. In this guide, we'll walk you through the step-by-step process of installing plastic pipes yourself.
Gathering Your Materials
Before you start your project, make sure you have all the necessary materials and tools. You'll need:
- Plastic pipes (PVC, CPVC, or PEX)
- Pipe cutter or hacksaw
- Measuring tape
- Deburring tool
- Primer and cement (for PVC and CPVC)
- Pipe fittings
- Teflon tape
- Safety gloves and goggles
Having these items on hand will ensure that your installation process goes smoothly without any interruptions.
Measuring and Cutting the Pipes
The first step in installing plastic pipes is to measure and cut them to the required length. Use a measuring tape to determine the exact length of pipe you need. Once you have your measurement, mark the pipe with a pencil or marker.
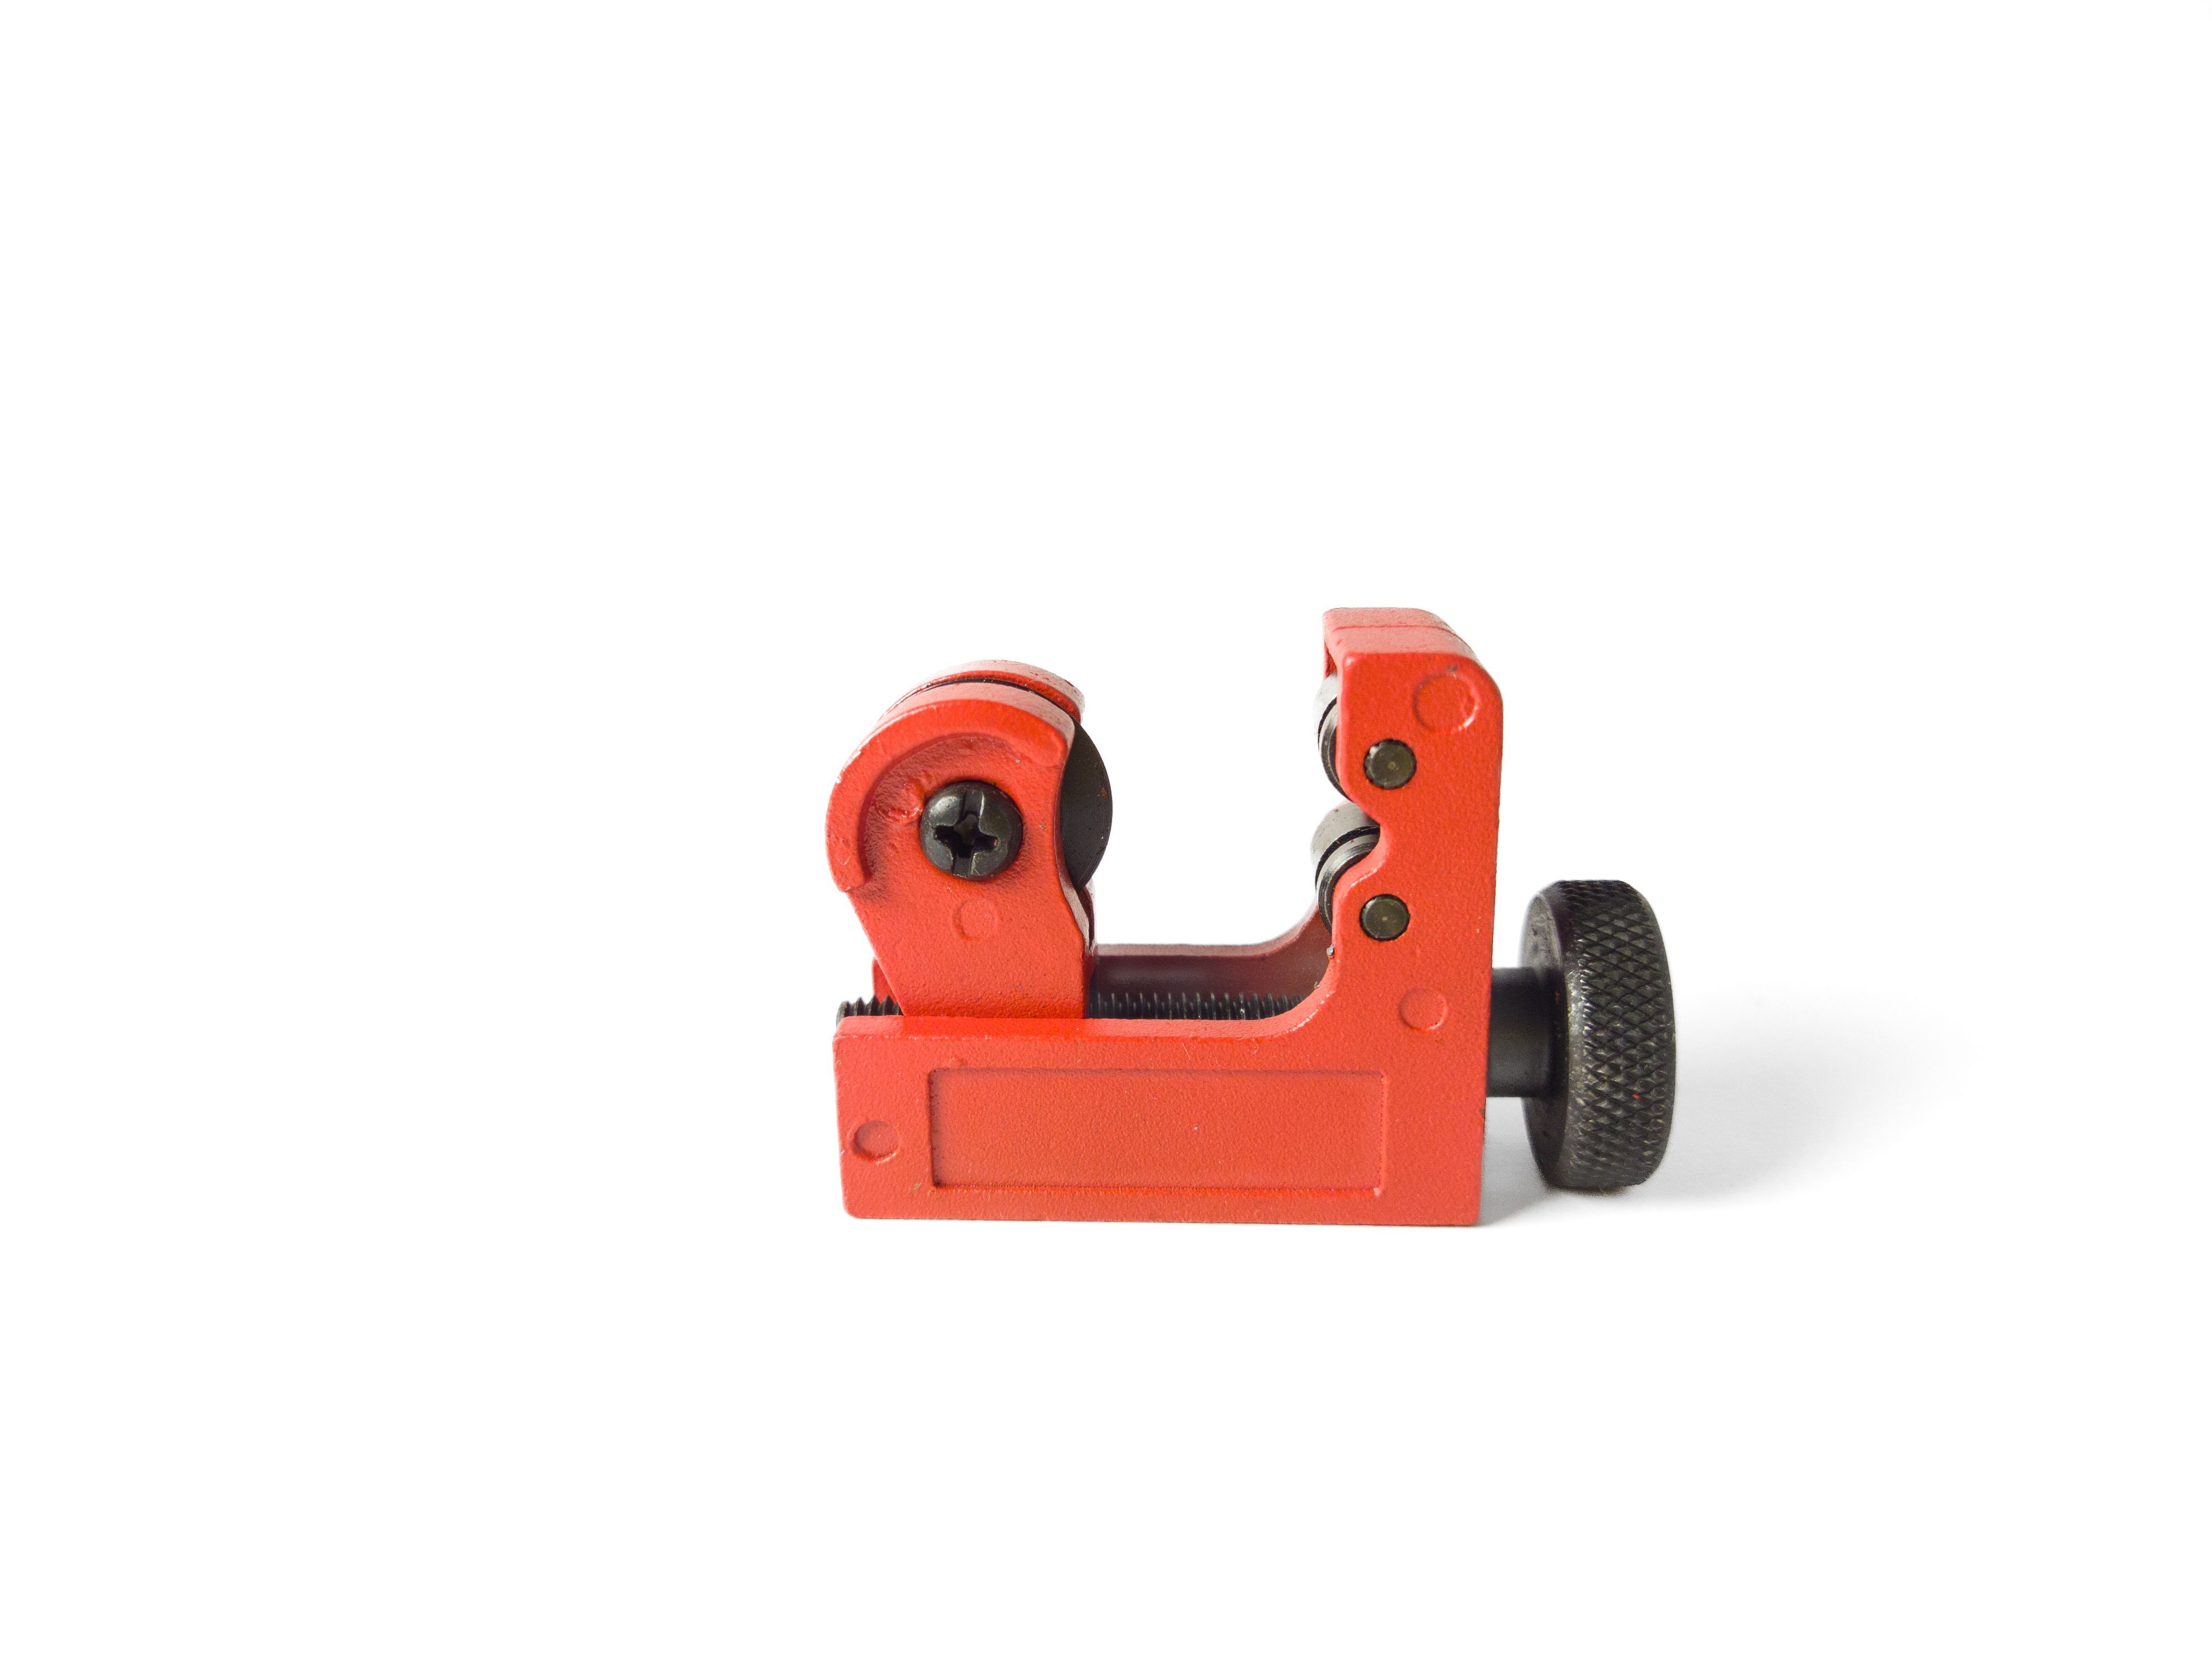
Using a pipe cutter or hacksaw, carefully cut the pipe along the marked line. Ensure the cut is straight and smooth. After cutting, use a deburring tool to remove any rough edges or burrs from the inside of the pipe. This will ensure a snug fit when connecting the pipes.
Joining the Pipes
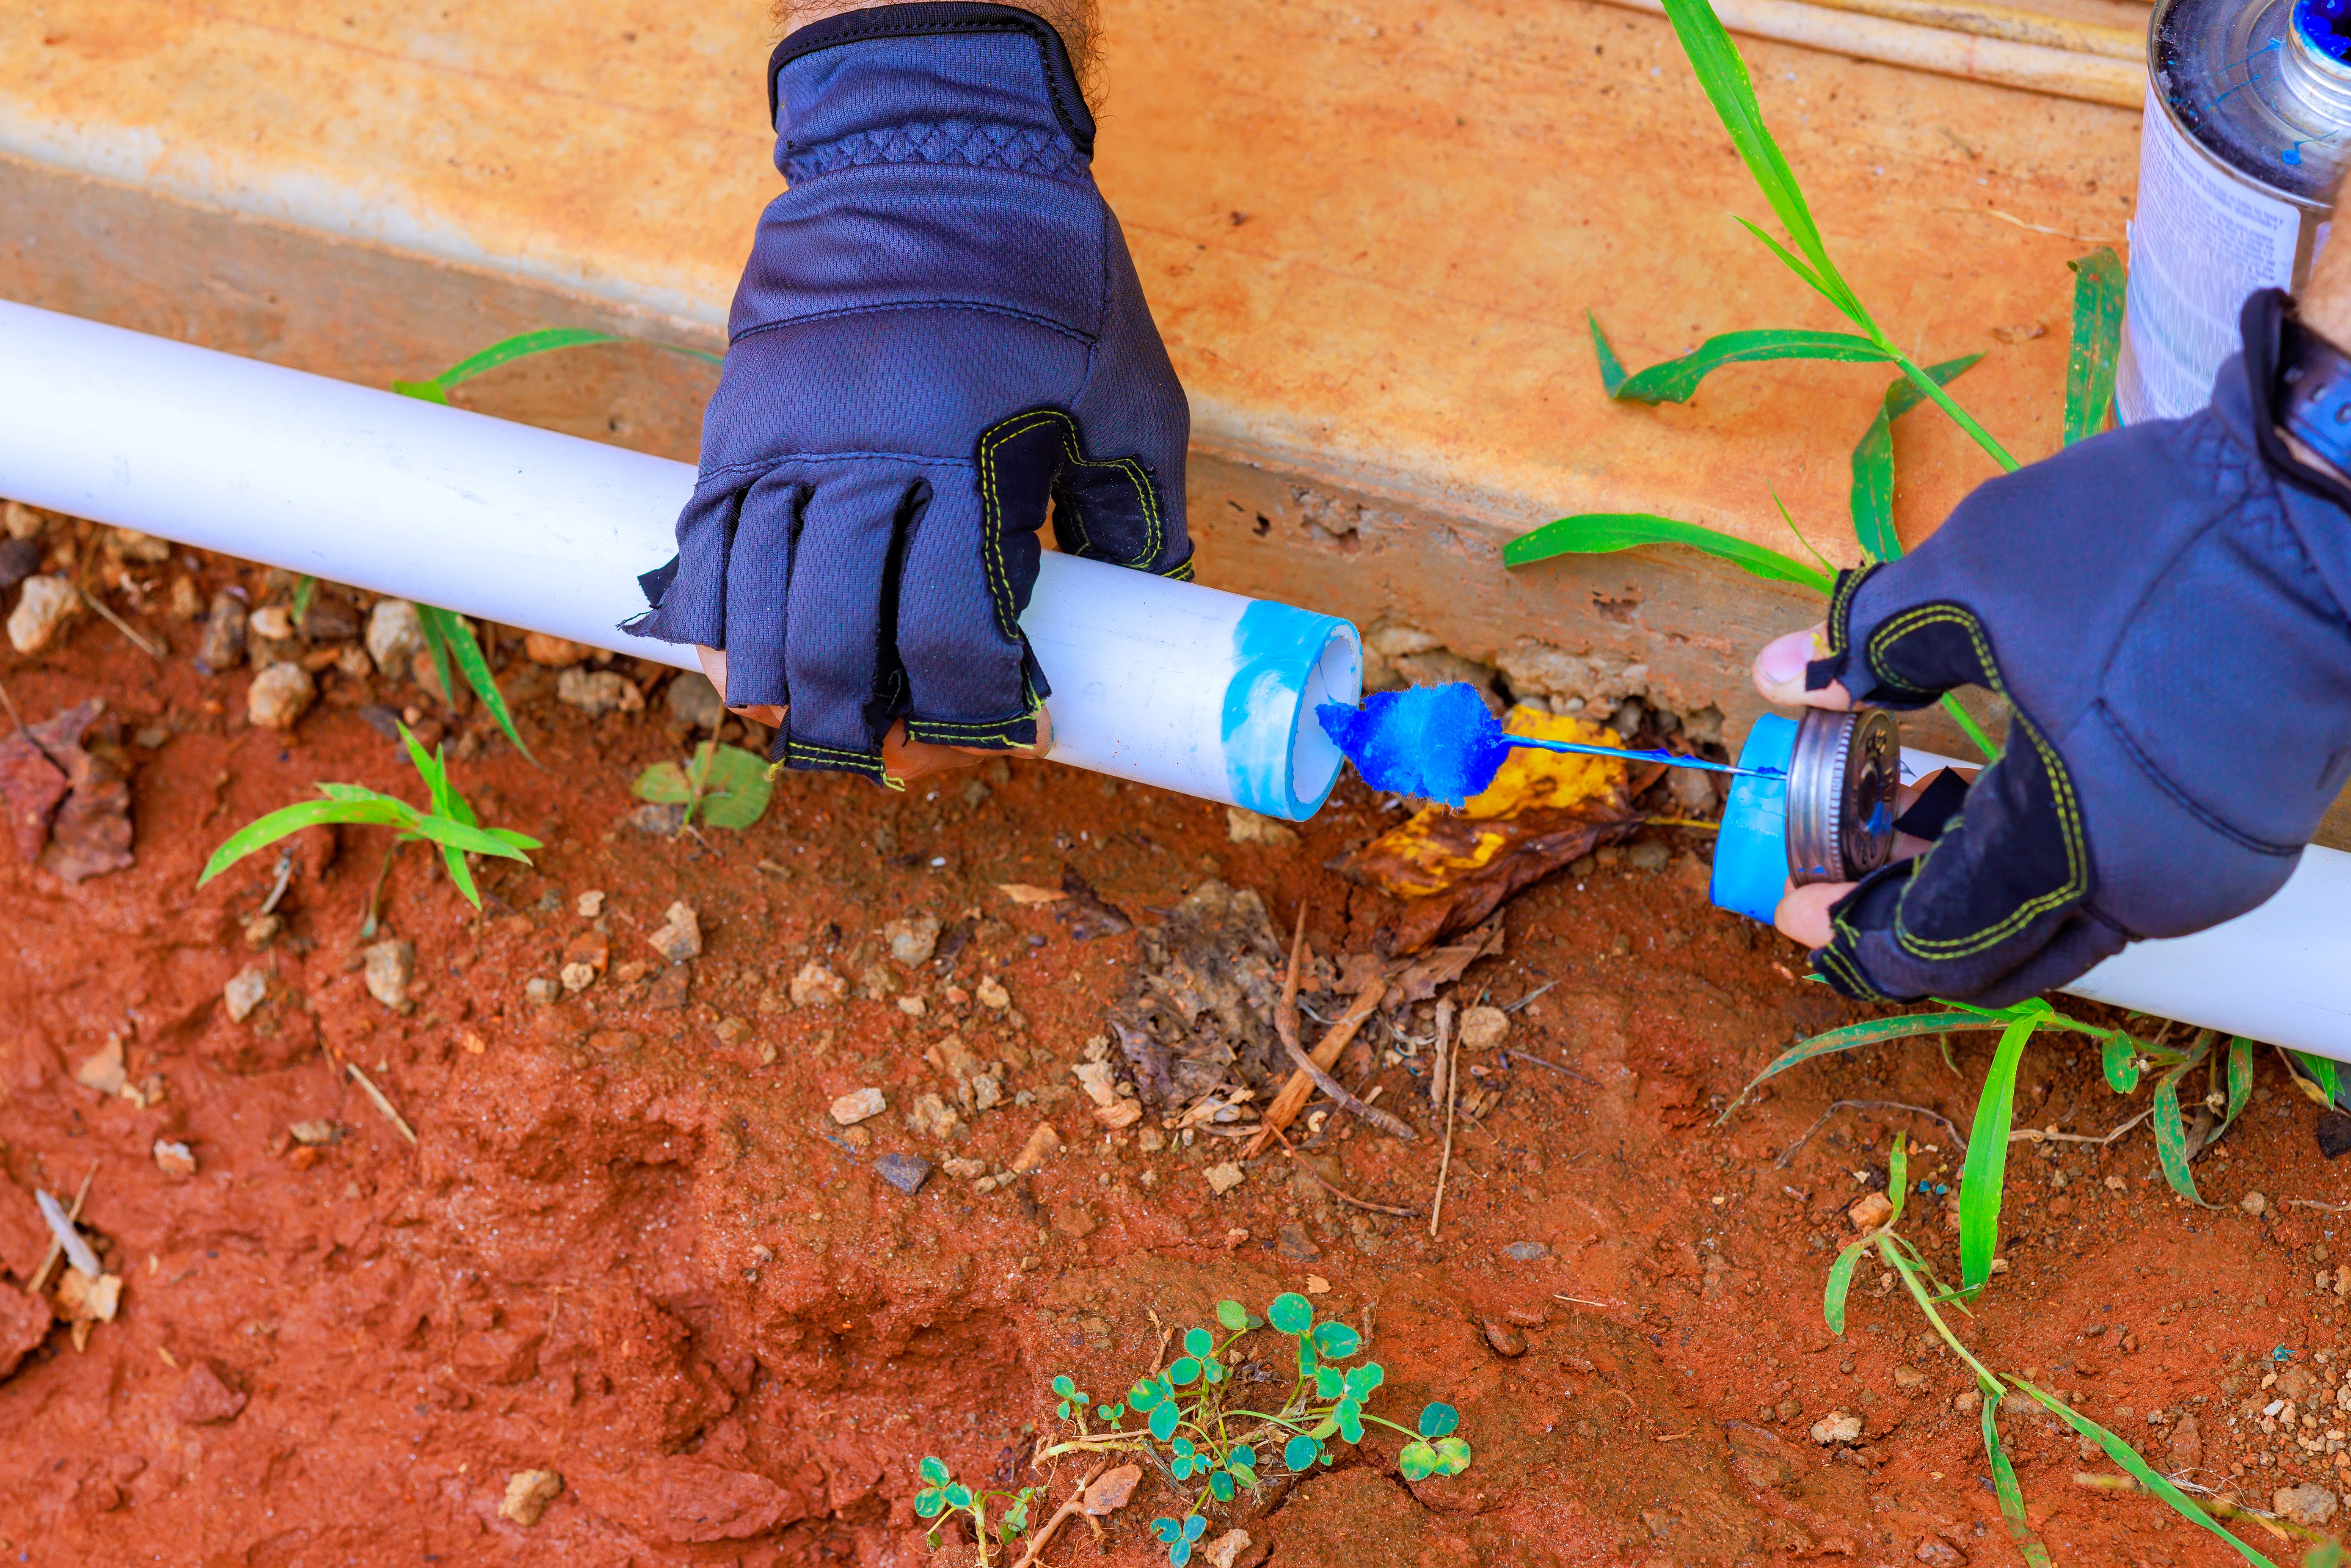
The method of joining plastic pipes depends on the type of material you're using. For PVC and CPVC pipes, you'll need to use primer and cement:
- Apply primer: Clean the ends of the pipes and fittings with primer to soften the surface for bonding.
- Apply cement: Spread an even layer of cement on both the pipe and the fitting.
- Connect: Quickly push the pipe into the fitting while twisting slightly to ensure a secure bond.
For PEX pipes, fittings can be connected using a crimping tool and metal rings. Ensure all connections are secure to prevent leaks.
Testing for Leaks
Once your pipes are joined, it's crucial to test for leaks. Turn on the water supply and inspect all joints for any signs of dripping. If you notice any leaks, tighten the fittings or consider reapplying cement or adjusting the crimp rings as needed.
Final Touches and Maintenance
After ensuring there are no leaks, it's time to finalize your installation. Wrap any threaded connections with Teflon tape for added security. Regularly check your pipes for any signs of wear or damage, especially in areas exposed to extreme temperatures or pressure changes.
By following these DIY tips, you can confidently install plastic pipes in your home projects. Not only will you save on labor costs, but you'll also gain valuable skills for future home improvements. Remember, proper planning and attention to detail are key to a successful installation.